Introducing the All-New Imperial AS - Shop Now
How to choose the best cycling shoes
It doesn’t matter whether you’re a road rider, gravel grinder, singletrack shredder, commuter, or just cruising for fun; every rider has one thing in common: the importance of a comfortable and confident connection between your feet and the pedals.
There are many types of pedal systems, and a variety of shoes available to match both the pedals and your riding style. So how do you choose the right shoe with the best technology, fit, and performance to suit your needs? We’re here to help you determine the best choices, so you can get the most out of your pedal-pushing power.

Pedal Systems
Pedals fall into two basic categories, either flat or clipless (sometimes called “clip-in”). It’s worth noting that there are also some pedals on the market that combine a flat side with a clipless side, giving you the option to use either depending on your shoe preference or riding style.
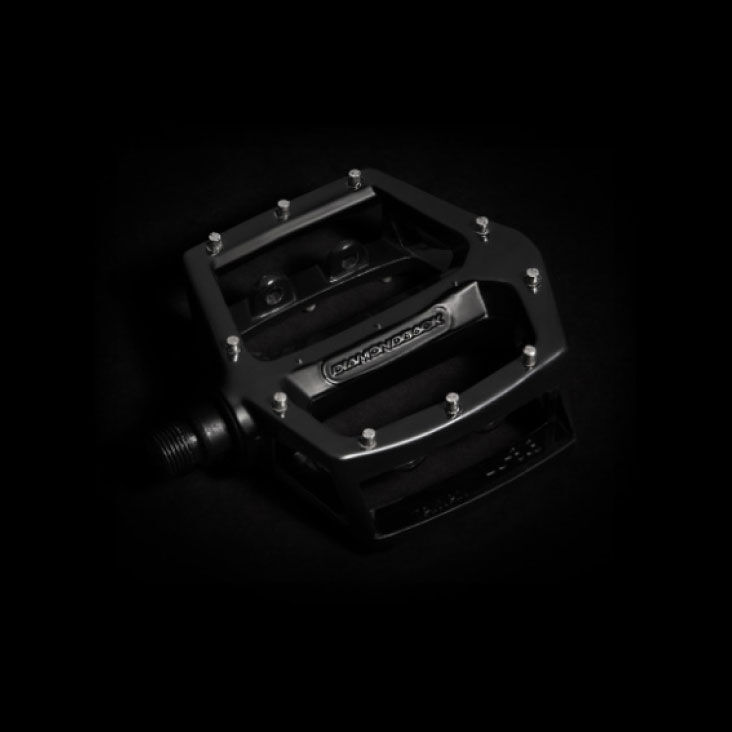
Flat Pedals
Flat pedals are popular among a wide span of riders, from first-time recreational cyclists to serious mountain bikers. The pedals are flat on both sides, allowing you to just jump on and go instantly. The system works with the pins of the pedal and rubber of the shoe outsole creating a connection to transfer power.
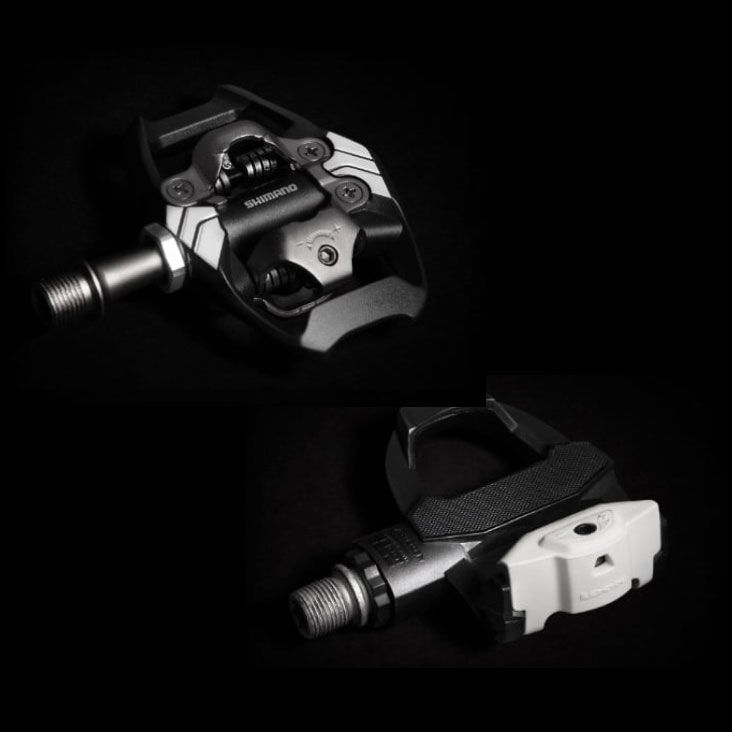
Clipless Pedals
Clipless (or clip-in) pedals are used by riders who appreciate the connected feeling that allows higher cadence and higher power efforts required for performance riding and racing.
The 2-bolt system (sometimes called “SPD” or “SPD-style”) is most commonly used for mountain bike-style pedals and shoes.
The 3-bolt system (sometimes called “Look” or “Look-style”) is almost exclusively used for road cycling pedals and shoes.
Closure Systems
Laces
As the most tried-and-true system, laces provide a customized fit and comfort level throughout the top of your foot.
Fastlaces
Fast laces combine the benefits of a traditional lace with a pull tab, allowing you to simply pull on the laces to tighten.
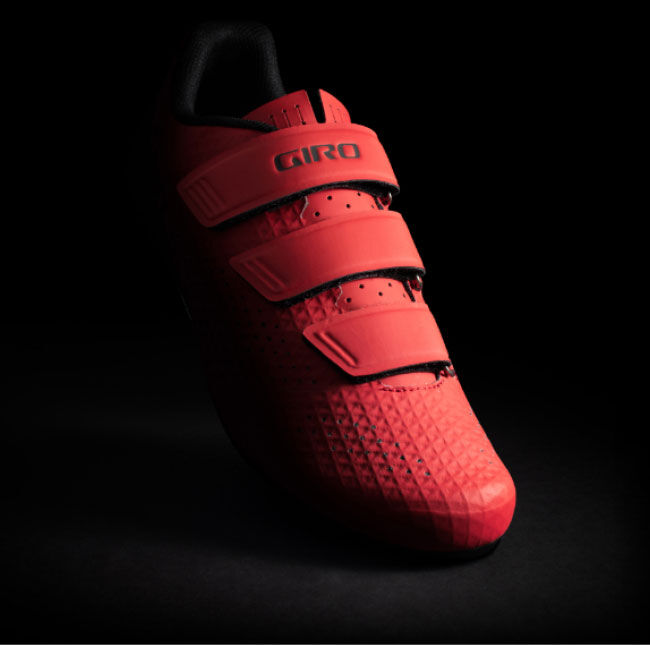
Straps
Hook-and-loop straps (a.k.a. Velcro® straps) allow for quick, intuitive closure, and they stretch less than laces.
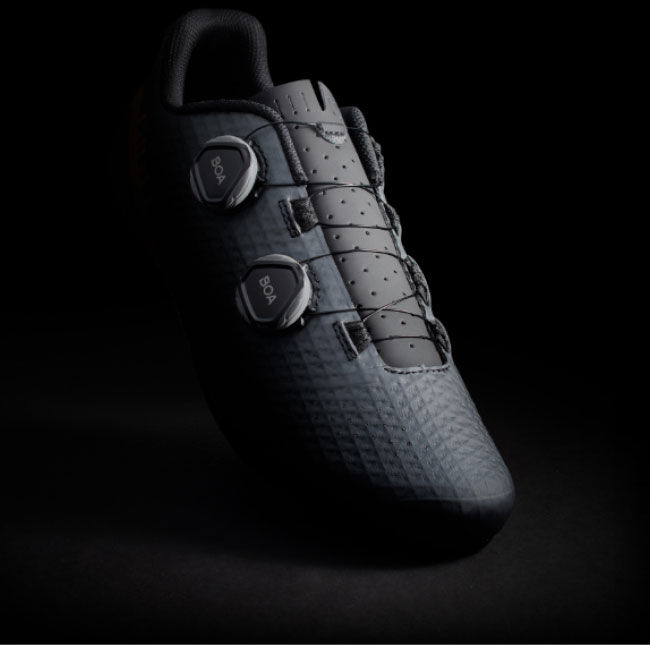
Dials
Dial systems, such as the BOA® system used on Giro shoes, allow you to effortlessly turn the dial to tighten the shoe through a system of cable laces.
Technologies
All Giro cycling shoes have a wide range of high-performance technologies and features to make your ride the best it can be. We also work with market-leading partners to make sure every Giro shoe is the best it can be.
BOA® Dials
Provides effortless adjustment.
Xnetic™ Knit
Sock-like comfort and superb ventilation.
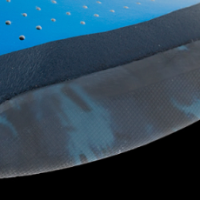
EVA Midsole
Helps to disperse pressure and absorb shock.

Vibram® Rubber
World leader in high performance rubber soles.
X-Static®
Antimicrobial fiber that is 100% natural.
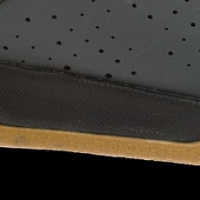
Rockprint
Offers abrasion resistance and enhanced durability.
Sensor Rubber
Maximum grip and long-term durability.
Supernatural Fit
Adjustable arch support kit.

Evofiber™
The best attributes of mesh and microfiber.
Synchwire
Incredible airflow and structural integrity.
FAQs
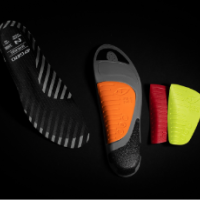
If your shoes are equipped with our adjustable SuperNatural Fit Kit Insoles, you can choose from the different arch supports supplied to customize fit and feel of the shoes to meet your needs:
• Large arch support = maximum height and support
• Medium arch support = medium height and support
• Small arch support = lowest height and support
Figure 1:

NOTE: We recommend that you start by choosing the arch support that most closely matches to the contours of your arches or the insole of your existing cycling shoes, and provides you with the most comfortable fit in the shoe. You should always consult with your local bicycle fit expert to tune your fit for maximum comfort and performance, especially if you experience any significant or consistent pain while riding.
To Start
Start by trying the shoe with the installed Medium (orange color) arch
support, which works well for a majority of riders. You may want to ride
with the stock setting to see how it feels during a normal ride.
To Adjust the Arch Support
To change the level of support, simply remove the insole from the shoe
and
peel off the arch support attached to the bottom of the insole. Then
install
a different arch support based on your desire for more or less arch
support.
Arch Too High
If the arch support presses uncomfortably into your foot or if you are
experiencing any lateral discomfort (on the outside edge of your feet),
try
a lower arch support.
Arch Too Low
If you are experiencing cramping or hot spots under the feet, or the
arch of
your foot feels unsupported or flat, try a higher arch support. Once
you’ve
set the arches to your preferred level of support, we recommend that you
take the extra arch supports along on a test ride in case you want to
make
changes once you’re on the bike.
If your shoes feature a footbed with non-adjustable arch support, you can purchase our SuperNatural Fit Kit as an upgrade. The benefits are a more customized fit, and support for comfort and efficiency.
Giro shoes have been designed to be compatible with the most popular clipless pedal and cleat systems or flat pedals, depending on the type of riding they are intended for. To ensure compatibility, please read the instructions provided with your pedals to confirm specifications and proper installation, maintenance recommendations and adjustment of the cleat and pedal system. Note that some pedal systems may require the use of an adapter.
If you have additional questions about pedal compatibility, please contact your authorized Giro dealer or our Customer Service group for assistance.
The instructions below are a guide. We recommend that you consult the owner’s manual or instructions that come with your pedals to be sure your cleats are installed correctly.
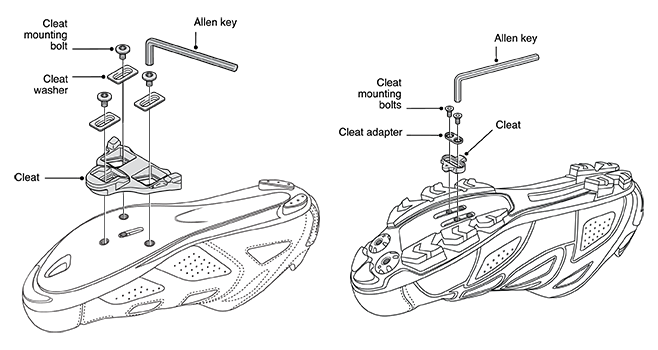
Cleat Installation
Install cleat system as described in the drawings below or follow the
instructions provide with your pedals.
See Diagram 1.
Cleat Positioning
Cleat positioning is a matter of personal choice, and can affect your
riding
comfort, power and efficiency. Positioning the cleat over the ball of
the
foot or slightly forward should maximize your power output. Positioning
the
cleat slightly behind the ball of the foot may increase comfort.
When you first attach cleats to the shoe sole, temporarily tighten cleat bolts to 22 in. lbs. (2.4Nm).
Once you have determined the optimal cleat position, firmly tighten the cleat mounting bolts. For final mounting, recommended cleat bolt torque is 41-52 in. lbs. (5-6Nm). Do not over-tighten bolts! We recommend that you follow the torque instructions for the cleat system and use those specifications if they indicate lower torque settings. 6Nm should never be exceeded when attaching the cleats!
Before You Ride
Before riding in your new shoes with cleats and clipless pedals, you
should
practice using the shoe and clipless system. Practice clipping-in and
-out
of the pedal while keeping one foot on the ground to maintain balance.
When
riding for the first time, find a clear area to practice clipping-in and
-out of the pedal system until the motion becomes familiar.
When properly cared for, your new Giro cycling shoes will offer many miles of performance.
• To clean shoes covered in mud, dirt or road grime, wipe them clean
with a
damp sponge or cloth.
• Never clean shoes in the washing machine.
• Do not clean your shoes using strong detergents or abrasive pads
or
brushes.
• Do not expose your shoes to extreme heat. Using a fire, radiator,
blow dryer or other heat source to dry your shoes can damage them and
void
warranty.
• Shoes and pedals may not engage properly in cleats that are dirty
or
worn. Regularly check cleats and cleat area for dirt or debris and
replace
worn cleats as needed or recommended by pedal manufacturer.
• If shoes become wet, you can stuff them with newspaper to help
absorb
moisture and maintain shape. In most cases newspaper will dry wet shoes
overnight.
Giro™ cycling shoes are intended for cycling. (“Giro™”), located at 5550 Scotts Valley Drive, makes the following Limited Warranty concerning Giro™ cycling shoes. This Limited Warranty is made only to the original purchaser. It is not transferable, and is void to any subsequent owner.
Giro™ cycling shoes are guaranteed to be free from defects in materials and/or workmanship for a period of one (1) year from the date of purchase. Giro™ will, at its option, replace or repair defective shoes.
This warranty does not cover defects, damage, malfunctions, or failures resulting from abuse, neglect, improper assembly of the pedal or pedal cleat, improper maintenance, alteration, collision, or a crash.
Please Contact Us for more details and information about initiating a return authorization if necessary. Thank you!
All Giro products are covered by the corresponding legal warranty.
We cannot offer compensation for products damaged for other reasons, including negligence, misuse or normal wear and tear. To initiate a warranty claim, please read the warranty policy and complete the form below. A customer representative will reach out in 1 to 2 business days with answers.
For more information on the the Warranty
Please see Warranty Policy for more details and information about initiating a return authorization if necessary. Thank you!
If the exact product or style you originally purchased is not currently available (i.e. discontinued, limited edition, etc.), please choose a comparable new product and indicate the substitution model in your communication with us. The new product should be equal or lesser in retail value than the style you are returning.
If you are unsure about your choice in comparable products, please contact a Customer Service team member via our Contact Section for details and information. Thank you!